Curated build guide
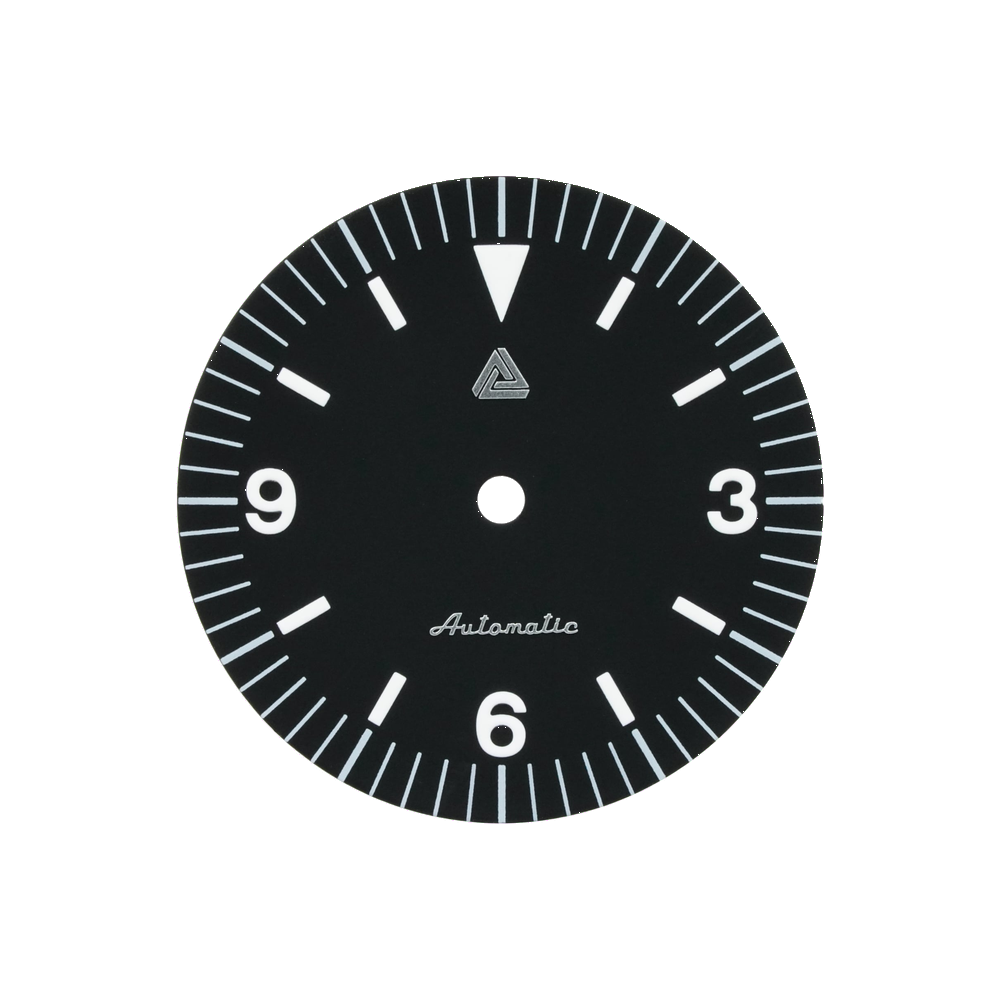
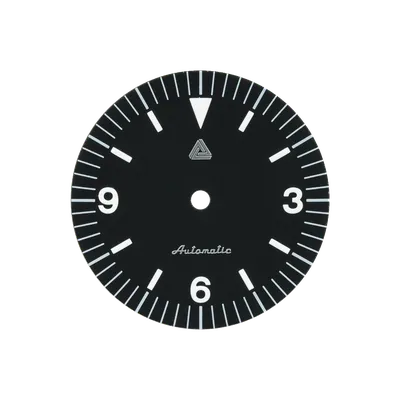
Explorer 1016 Dial (No Date) build guide
Some links on this page go to suppliers. We may earn a small commission if you buy through them, at no extra cost to you. It does not affect which parts we list. How we stay free →
Parts in this build
![Explorer Watch Case - 36mm [ULTRA THIN EDITION]](https://assets.assemble.watch/parts/cases/lucius_atelier/lucius_atelier_explorer_watch_case_36mm_ultra_thin_edition_thumb.webp)
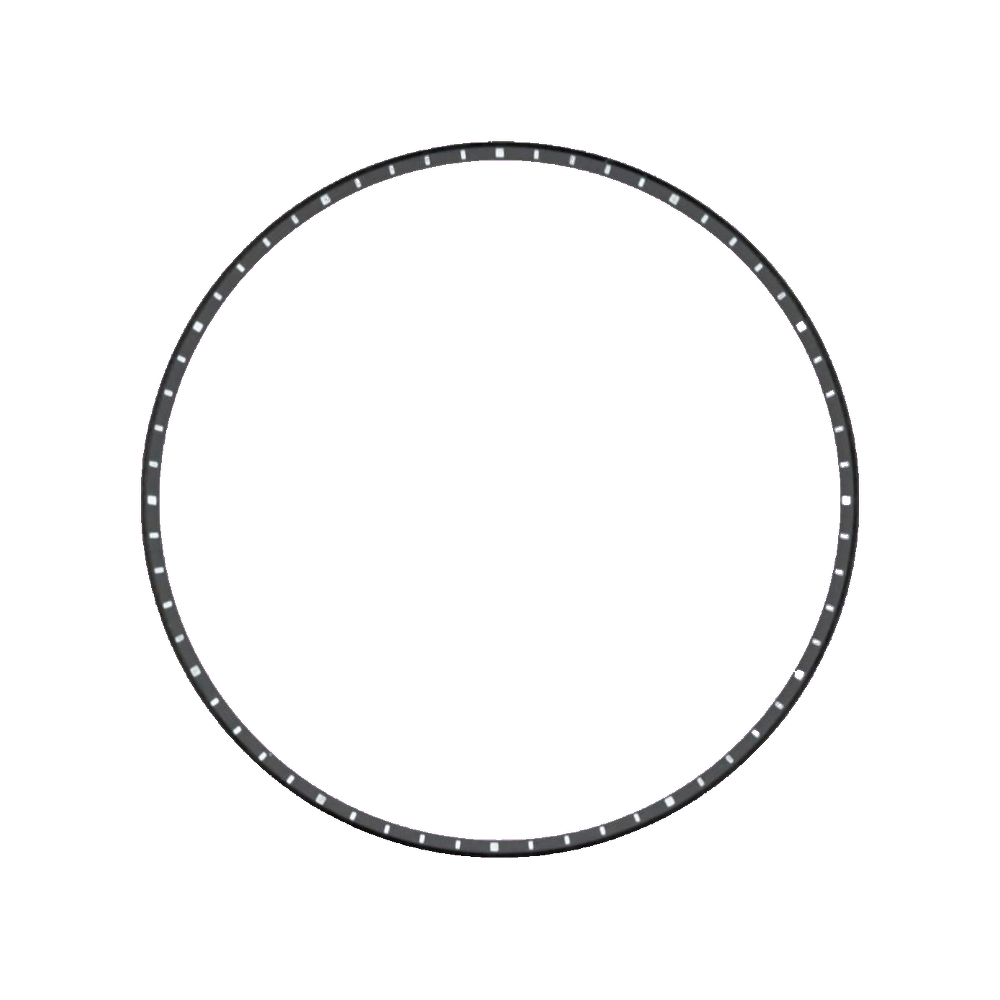
![SKX013 Brushed Black Chapter Ring - White Markers [ULTRA THIN EDITION]](https://assets.assemble.watch/parts/chapter_rings/lucius_atelier/lucius_atelier_skx013_brushed_black_chapter_ring_white_markers_ultra_thin_edition_thumb.webp)
Build checkpoints
Plan parts here. Learn technique from the linked guides.
Checkpoint 1
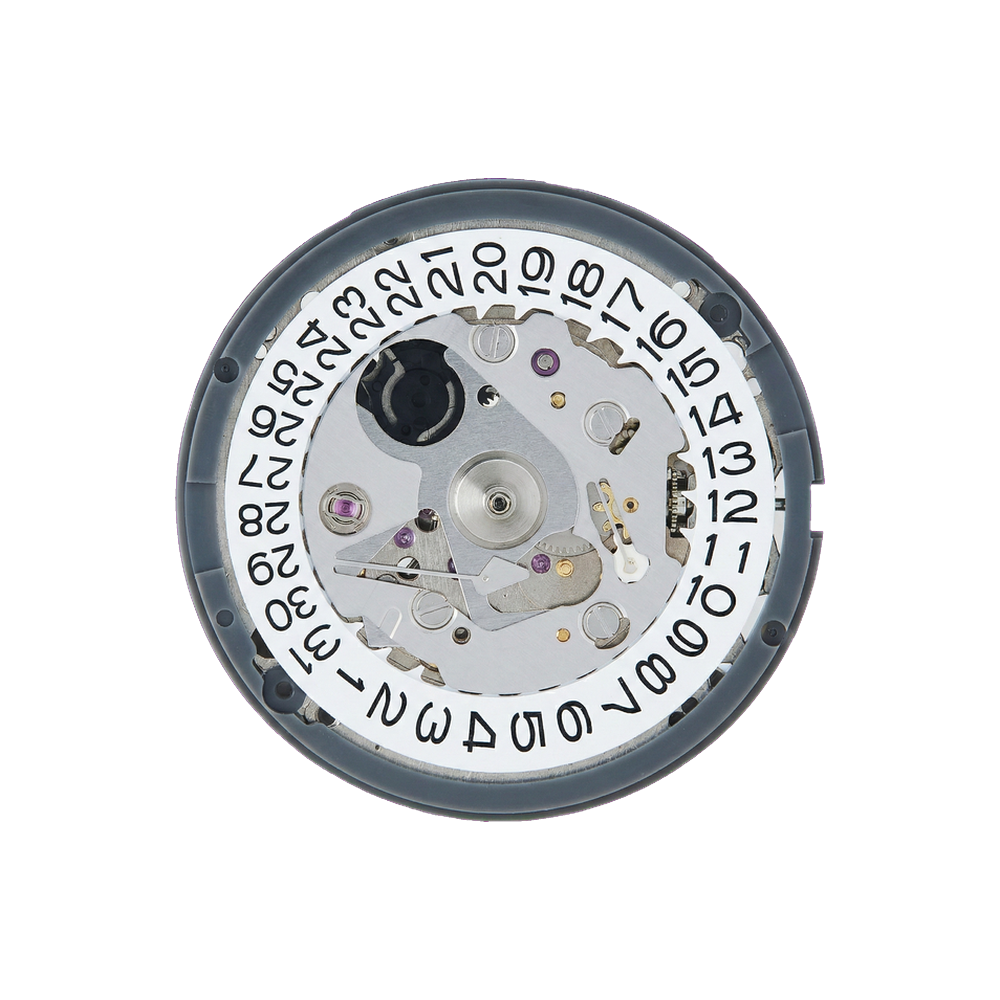
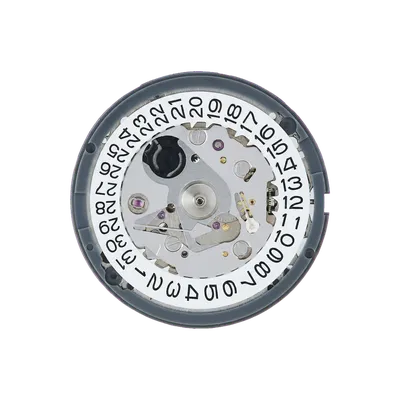
Pair the dial and movement
Checkpoint: confirm the dial feet line up with the movement and any date/day window sits correctly before mounting.
Date window and movement date wheel don't obviously match — verify alignment before final assembly.Checkpoint 2
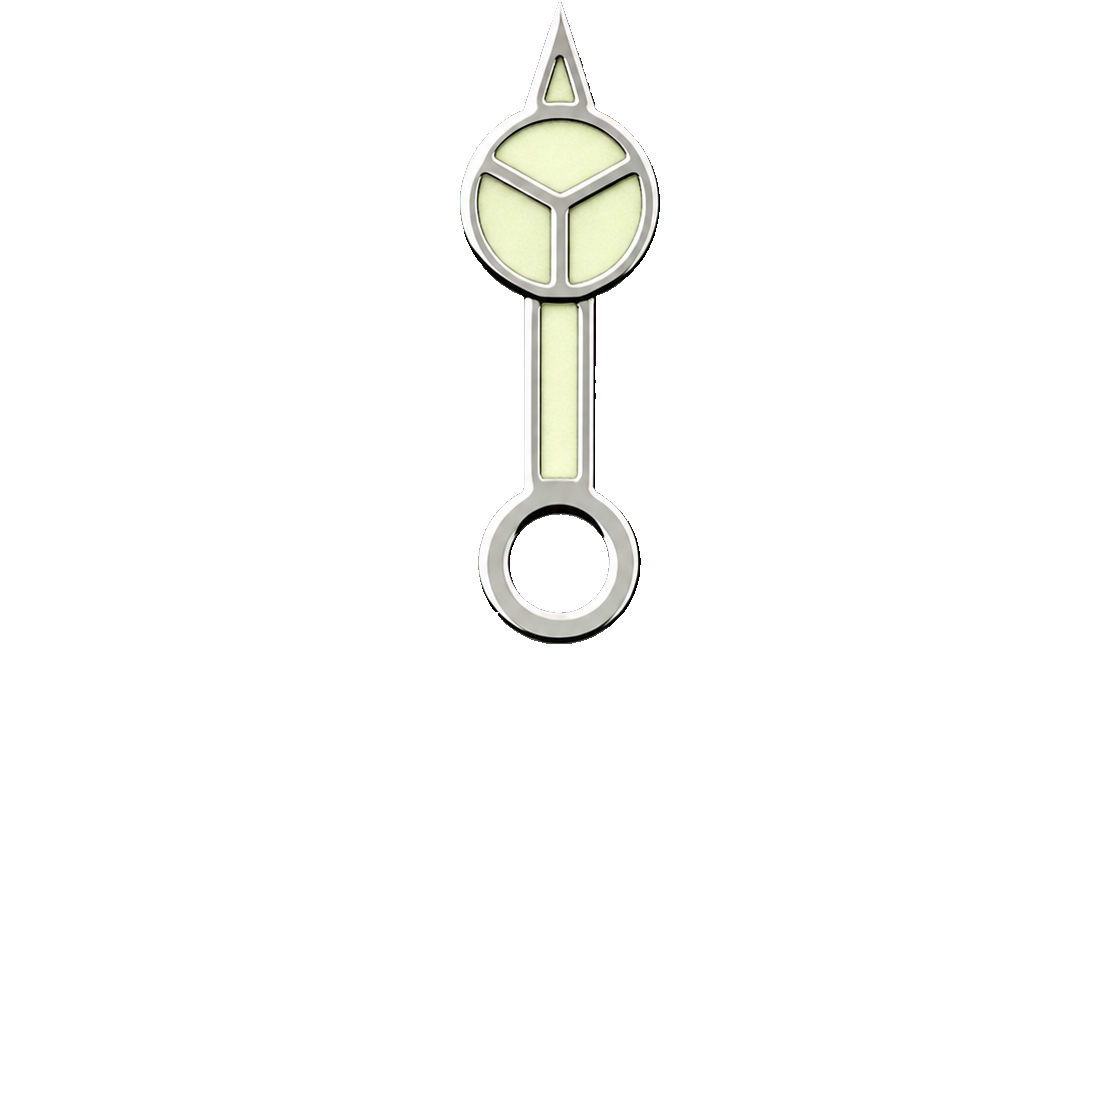
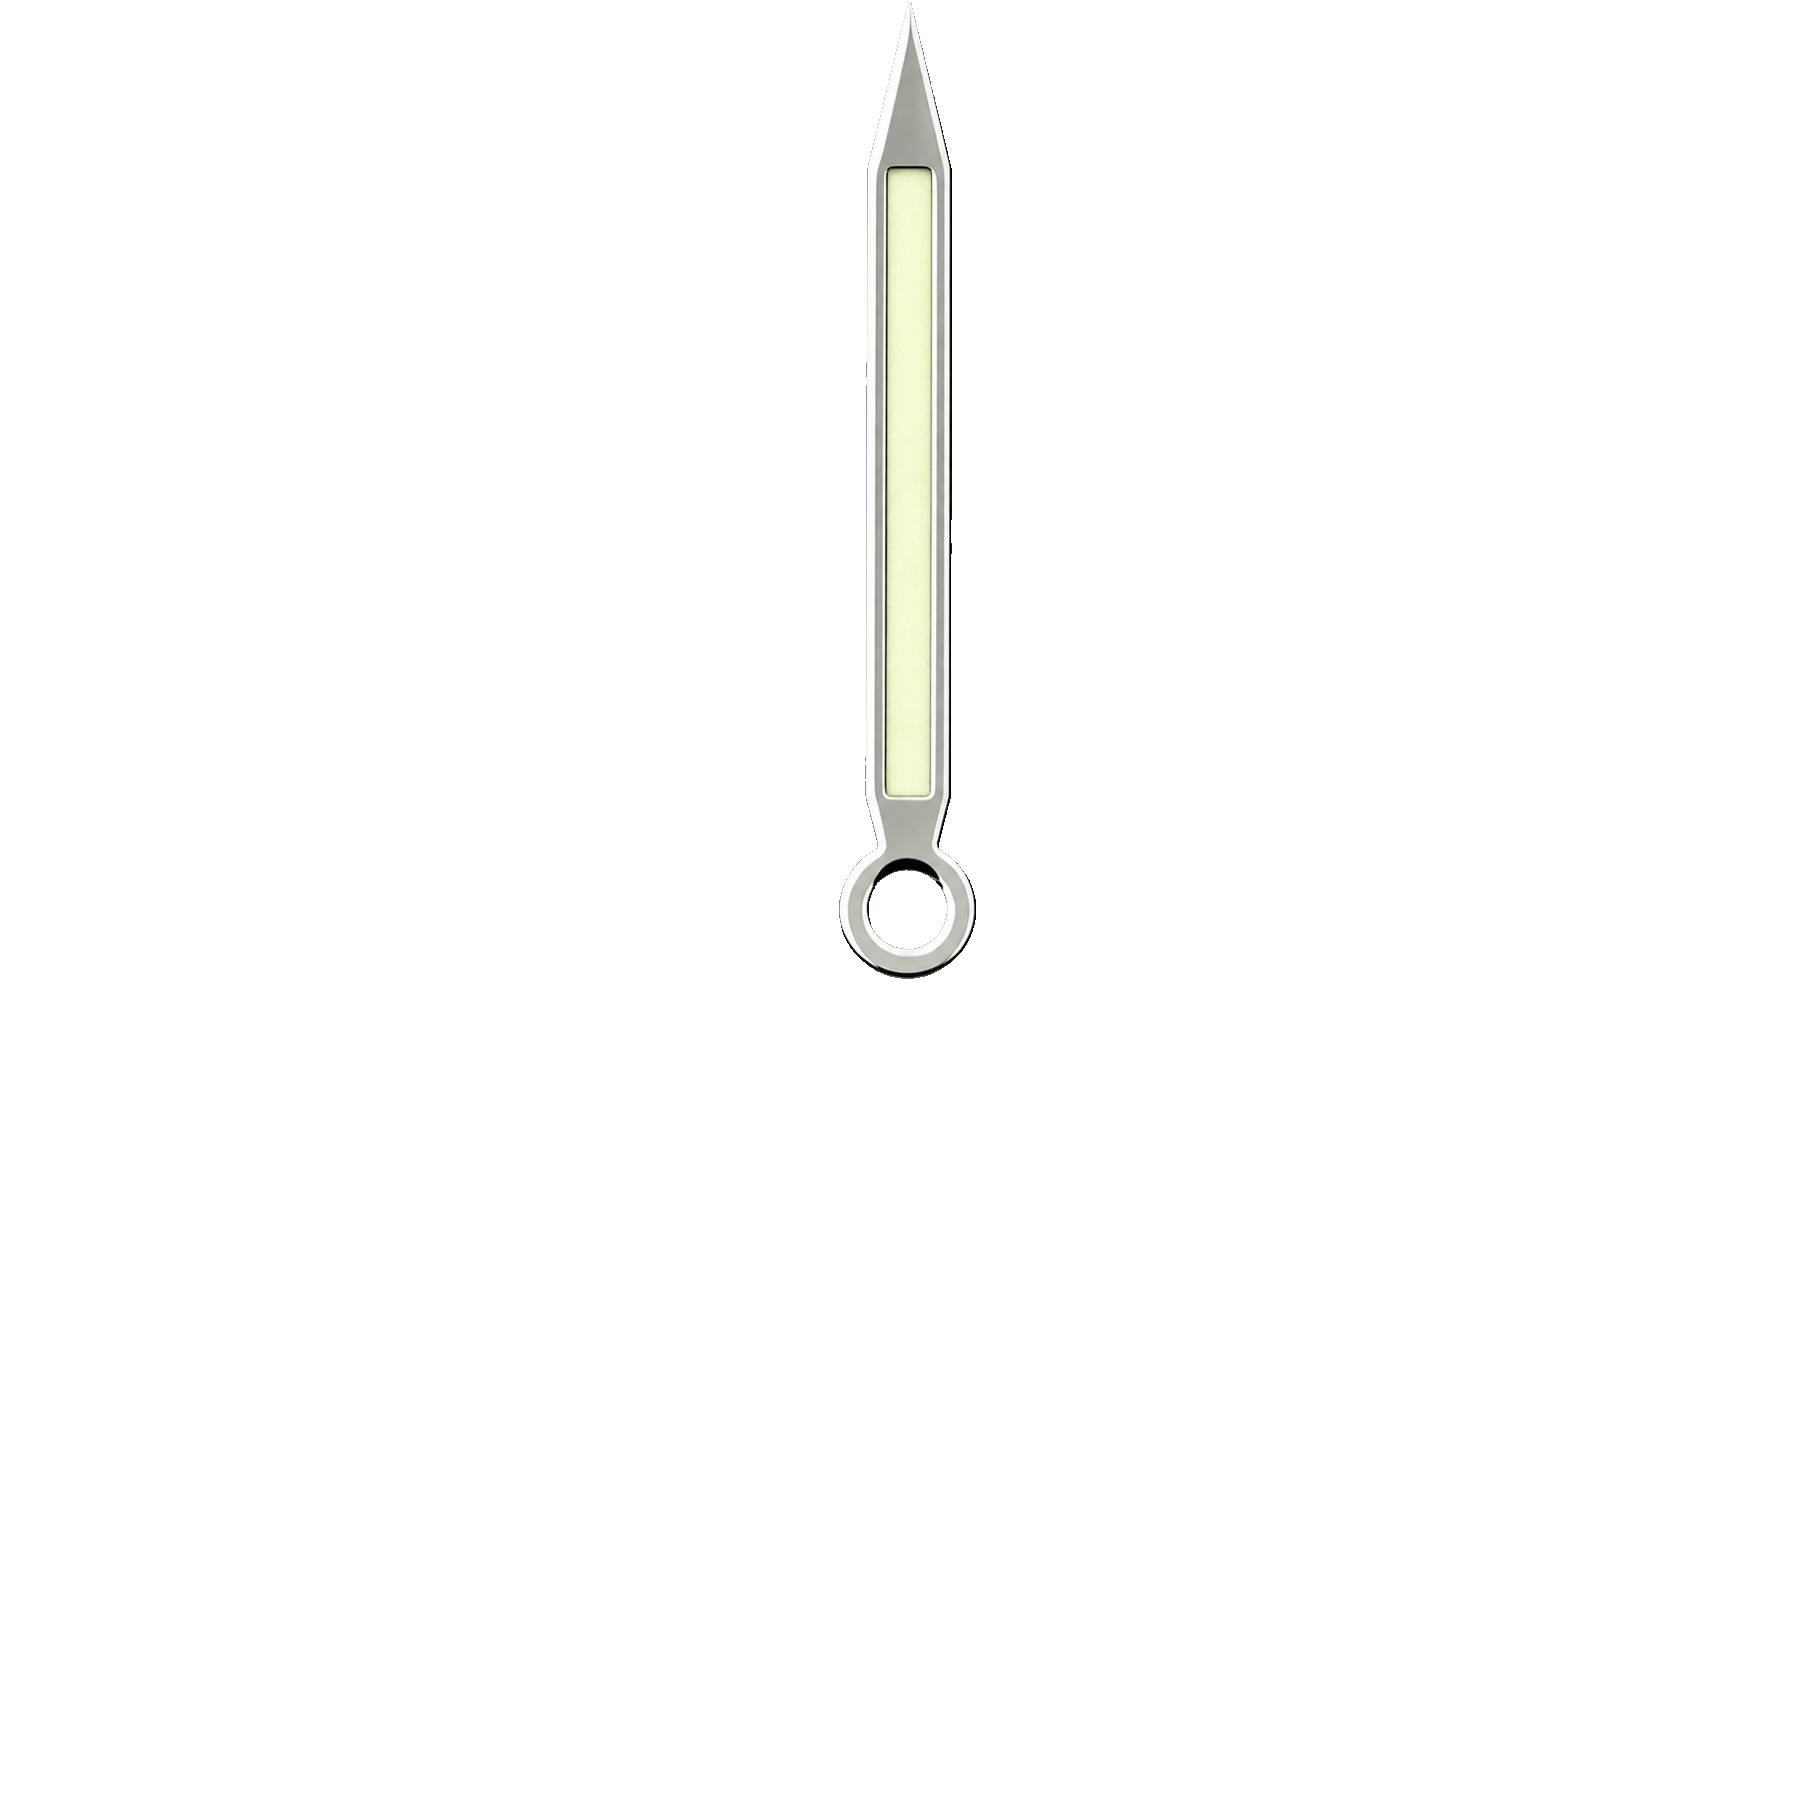
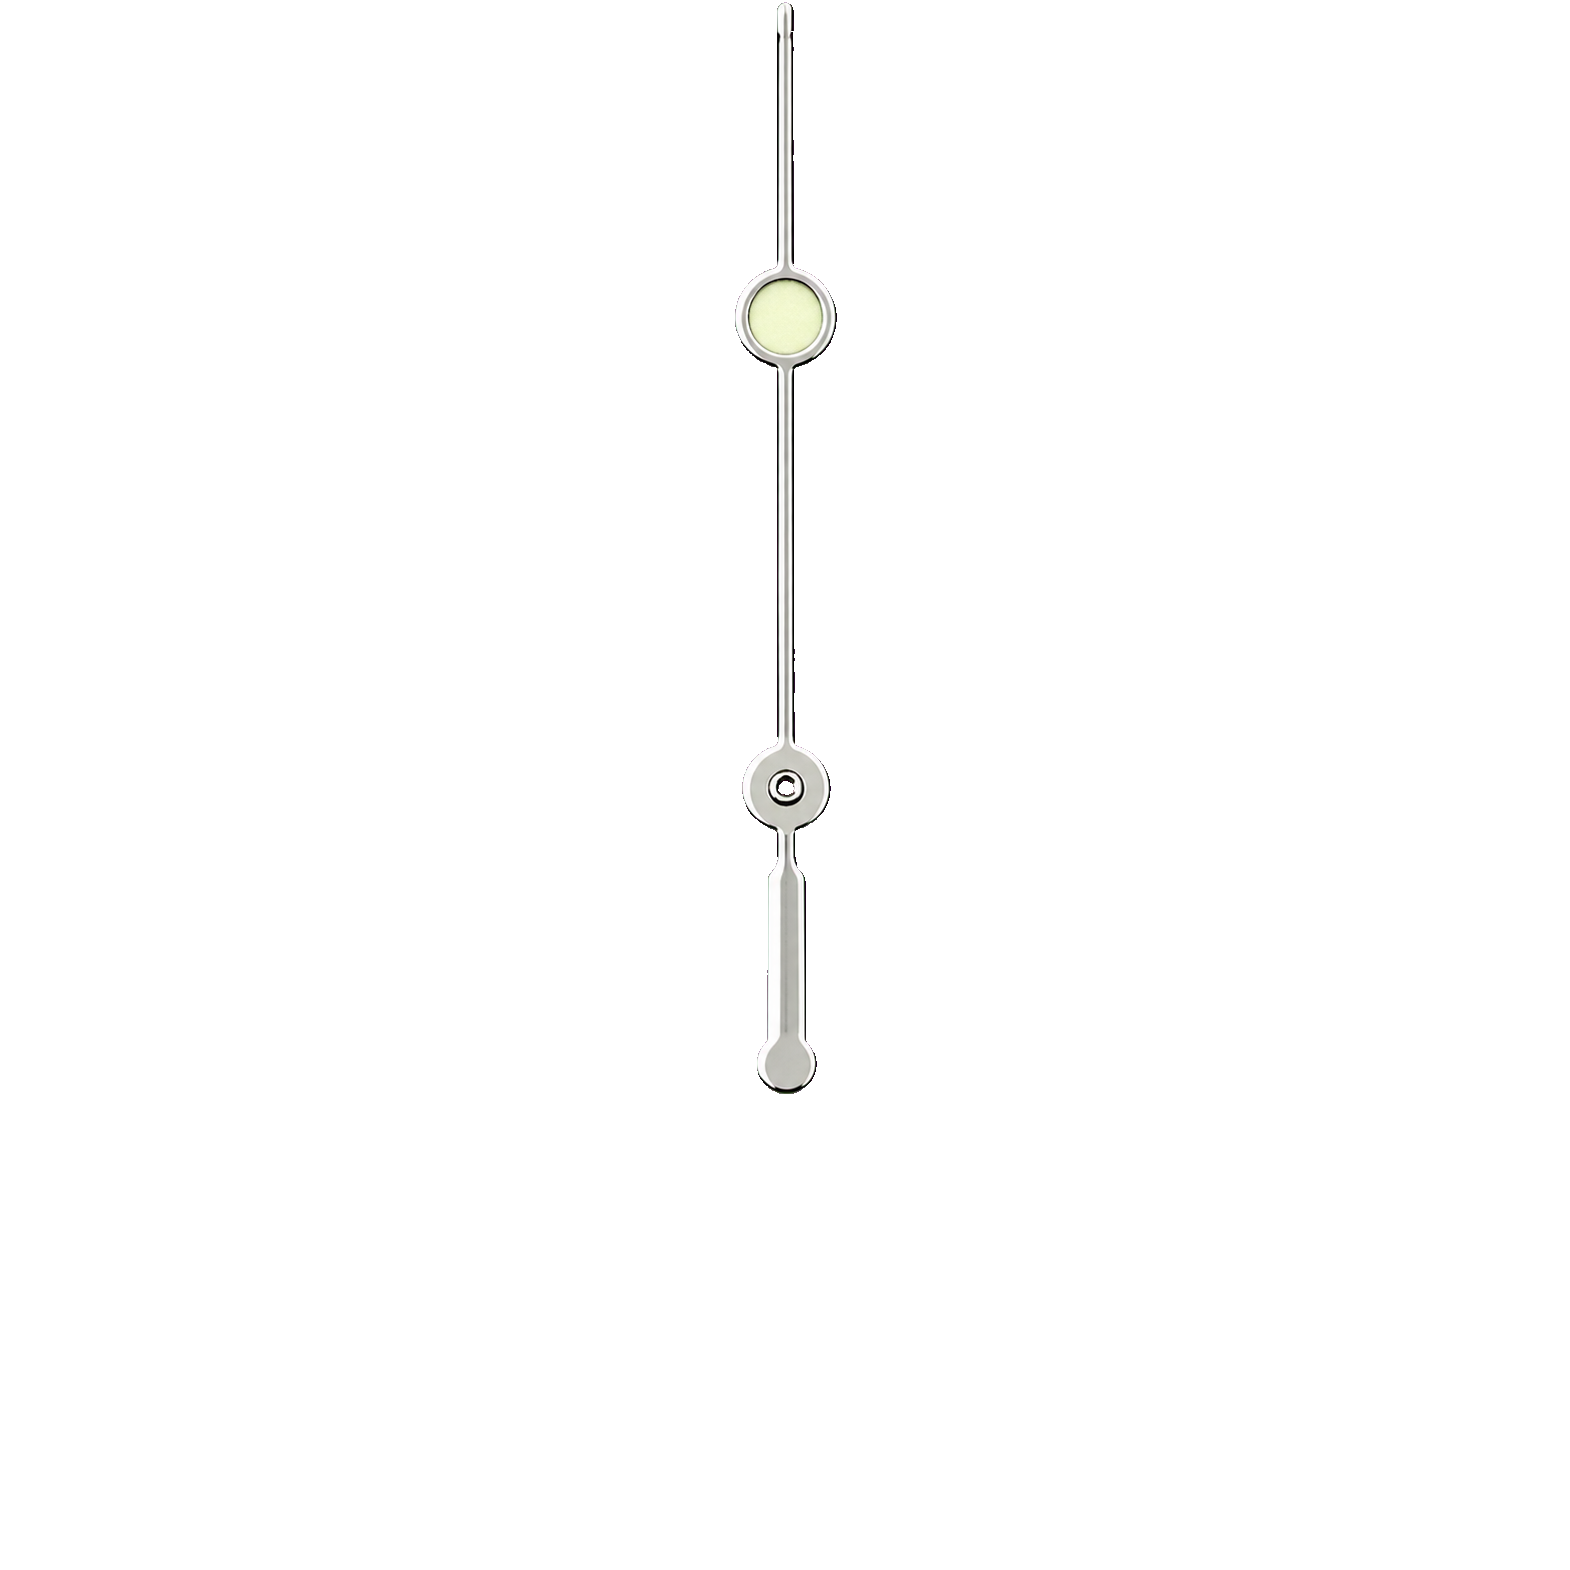
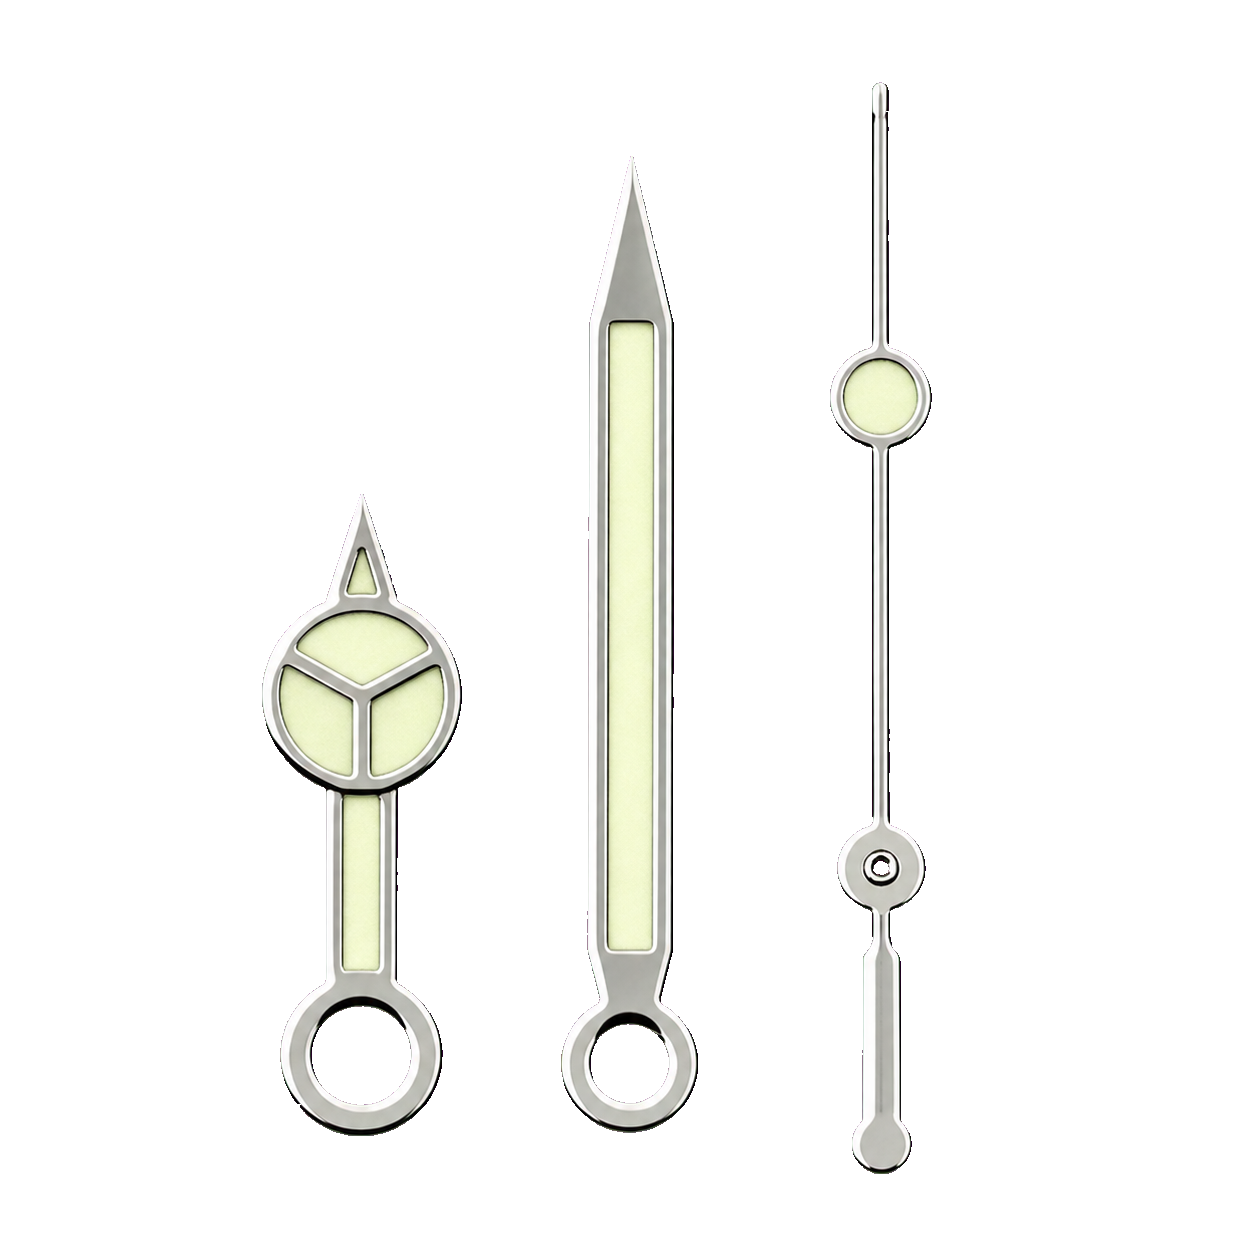
Set the hands
Hand-setting is the precision step. Review a full hand-setting guide before pressing the hands, then check clearance between the dial, hands, chapter ring, and crystal.
Learn this step
Checkpoint 3
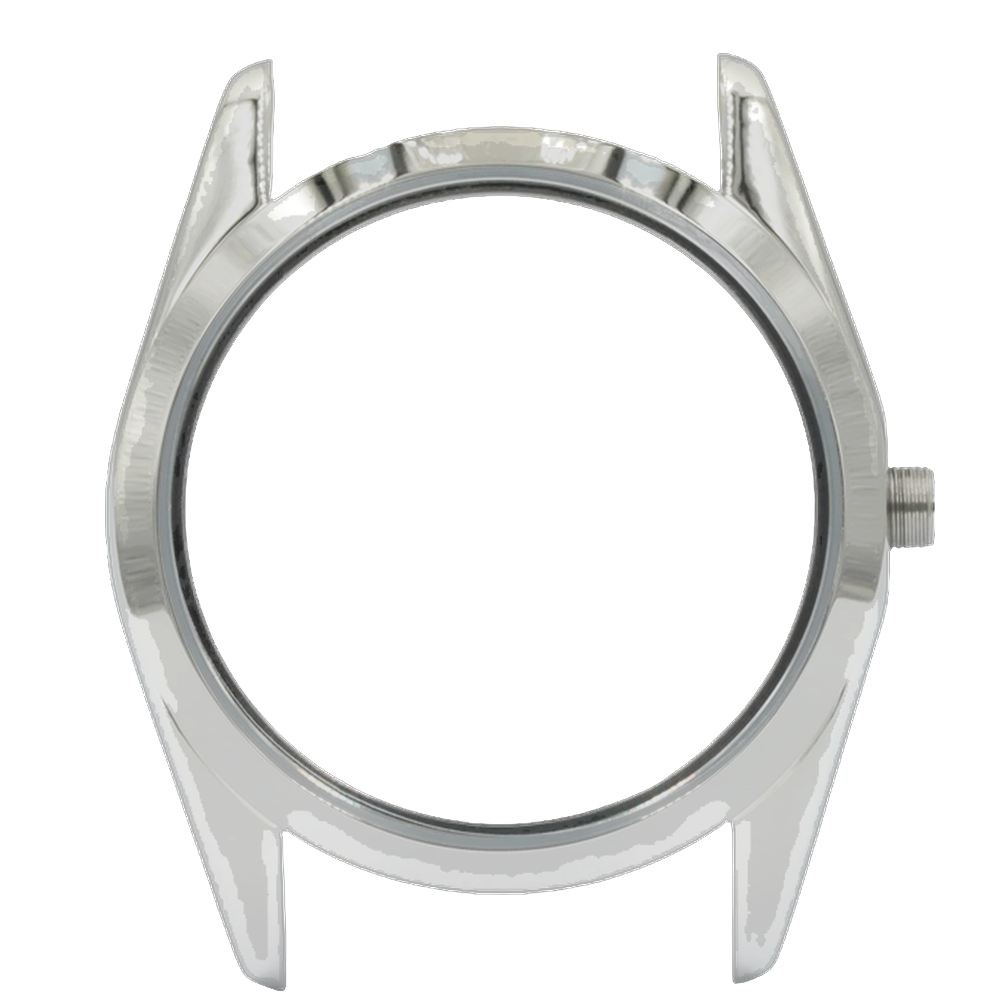
Seat the movement in the case
Checkpoint: test-fit the movement/dial/hands assembly in the case, then confirm the movement holder or spacer seats cleanly before closing anything.
Type M movement holder with tight hand clearance — hands must seat completely flush or they may foul the crystal.Learn this step
Checkpoint 4
Fit the chapter ring
Checkpoint: seat the chapter ring and confirm its markers align with 12 o'clock and the date/day window if the build has one.
Learn this step
Checkpoint 5
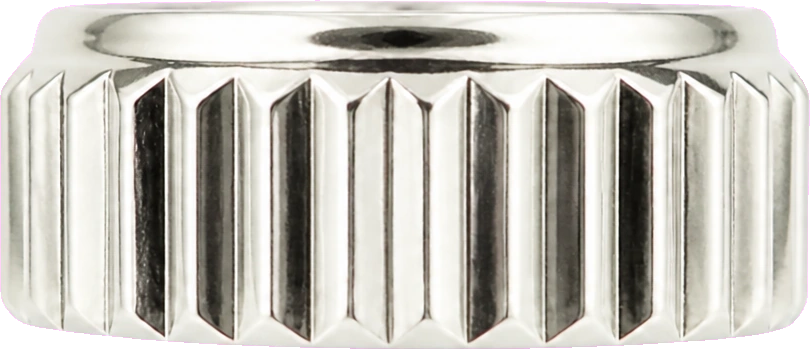
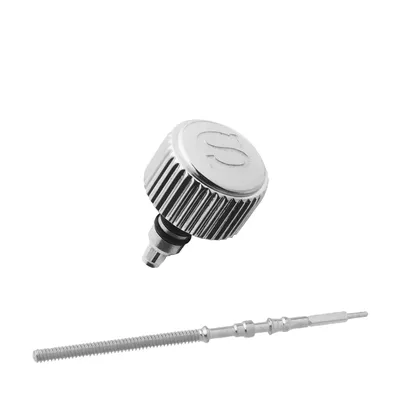
Fit the crown
Checkpoint: crown and stem fitting can require trimming. Confirm winding, hand-set, and date-set positions before sealing the case.
Learn this step
Checkpoint 6
Close the caseback
Checkpoint: inspect for dust, confirm the gasket is seated, then close the caseback without shifting the crown or movement.
Learn this step
Checkpoint 7
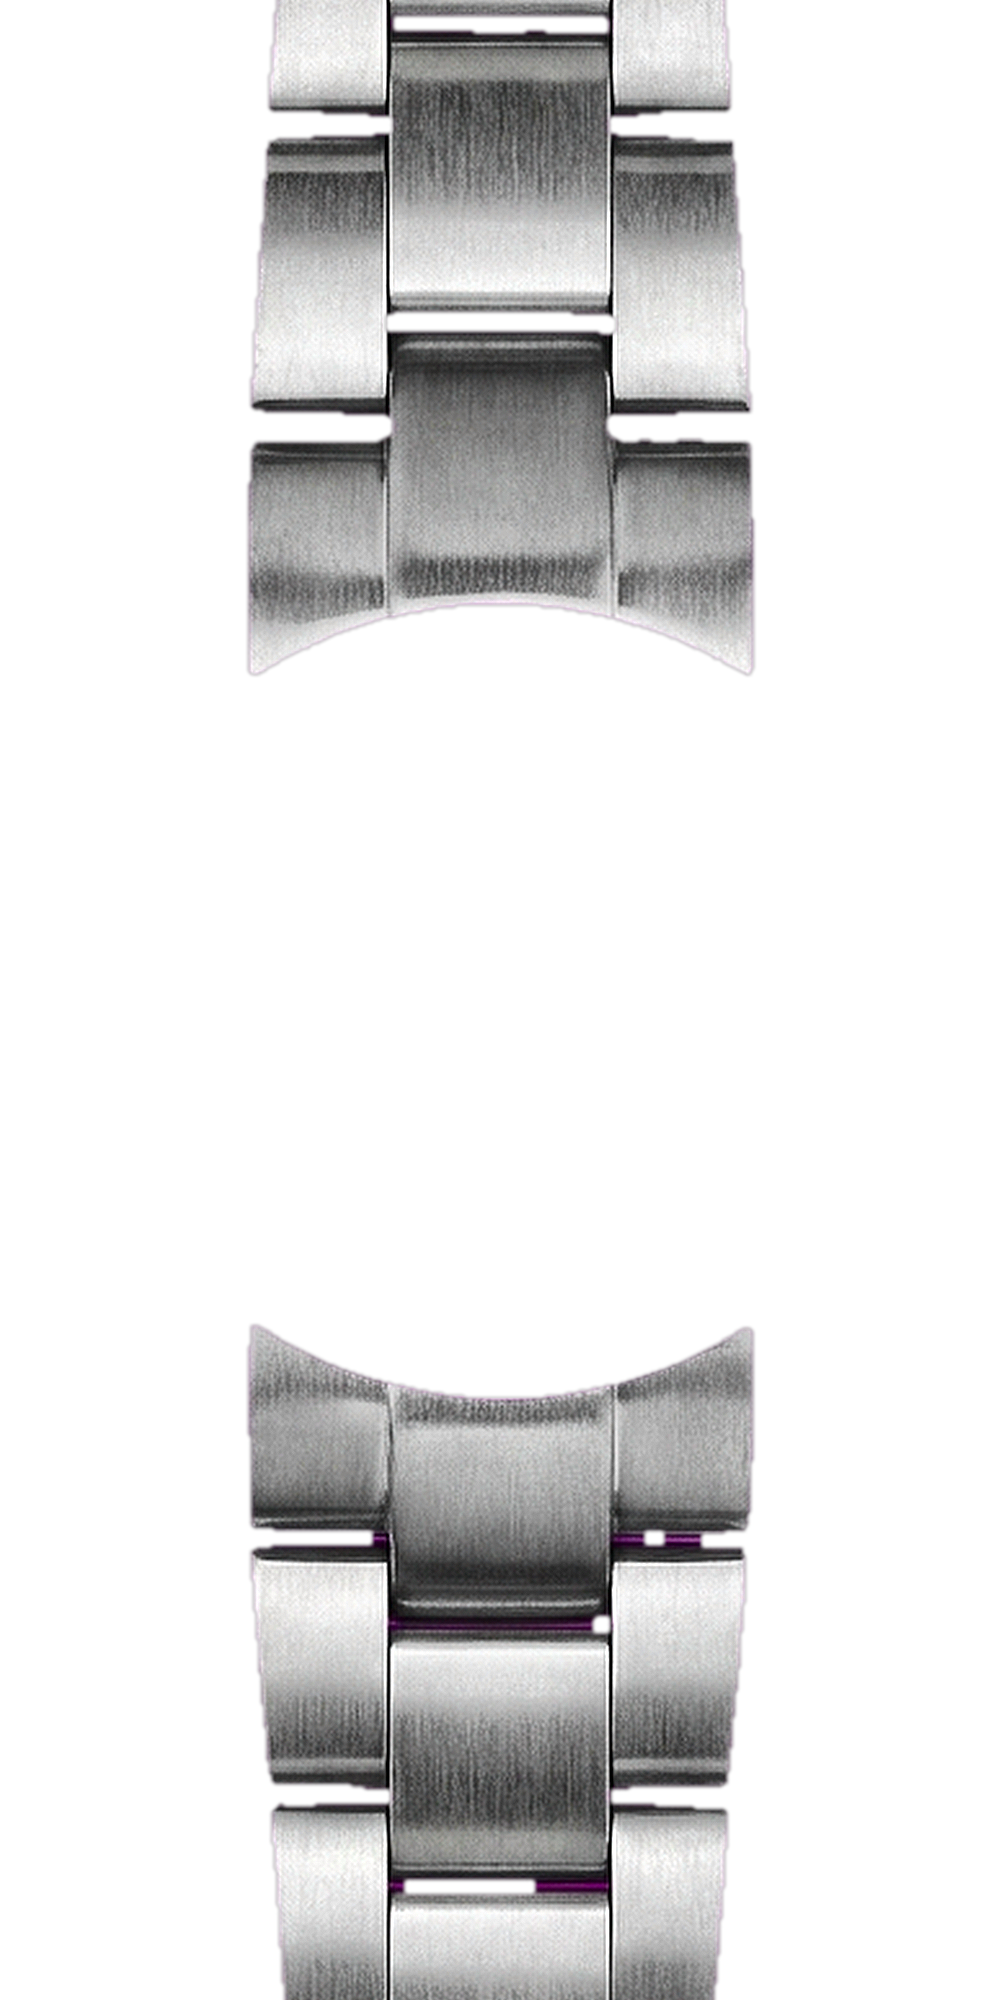
Fit the strap or bracelet
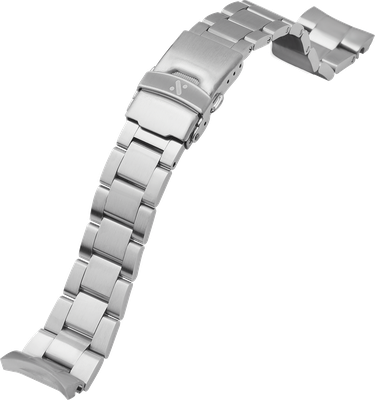
Checkpoint: fit the spring bars, then tug-test the strap or bracelet and confirm end links sit flush against the case.
Learn this step